He recently received a request for this piece by a person in Montreal. We tried to find someone here in the US to cut it on a CNC machine, but getting a prototype made turned out to be a fools errand.
This is what it looks like on his site:

I took a closer look at the parts and decided I could cut them myself, so...the fool is me. Ezio asked me to document the process and that will happen on this page, beginning with step number one: preparing the drawings.
I received a set the other day and discovered the first problem. The design was supposed to be 130 cm in length and it turned out to be 130". Not a problem, really because I had planned to scale it down to 122 cm, or 48" at the customer's request. I adjusted the scaling factor in AutoCad and the final length came out at exactly 48". How often does that happen?
Next step was to have a drawing of each part so I could transfer the measurements to a sheet of birch plywood. The shapes are easy enough, but the joining angles where they meet pose a challenge. For one thing, they were never indicated in the original Sold Works drawing that was then exported to AutoCad. They remained to be discovered. AutoCad has a section plane tool that I used to get an accurate take on them. It was the only way to do it because the ends of the pieces are angular and AC's dimension tool chokes on compound angles.
Here is a typical part rendition that shows the shape elements and the edge angles.:

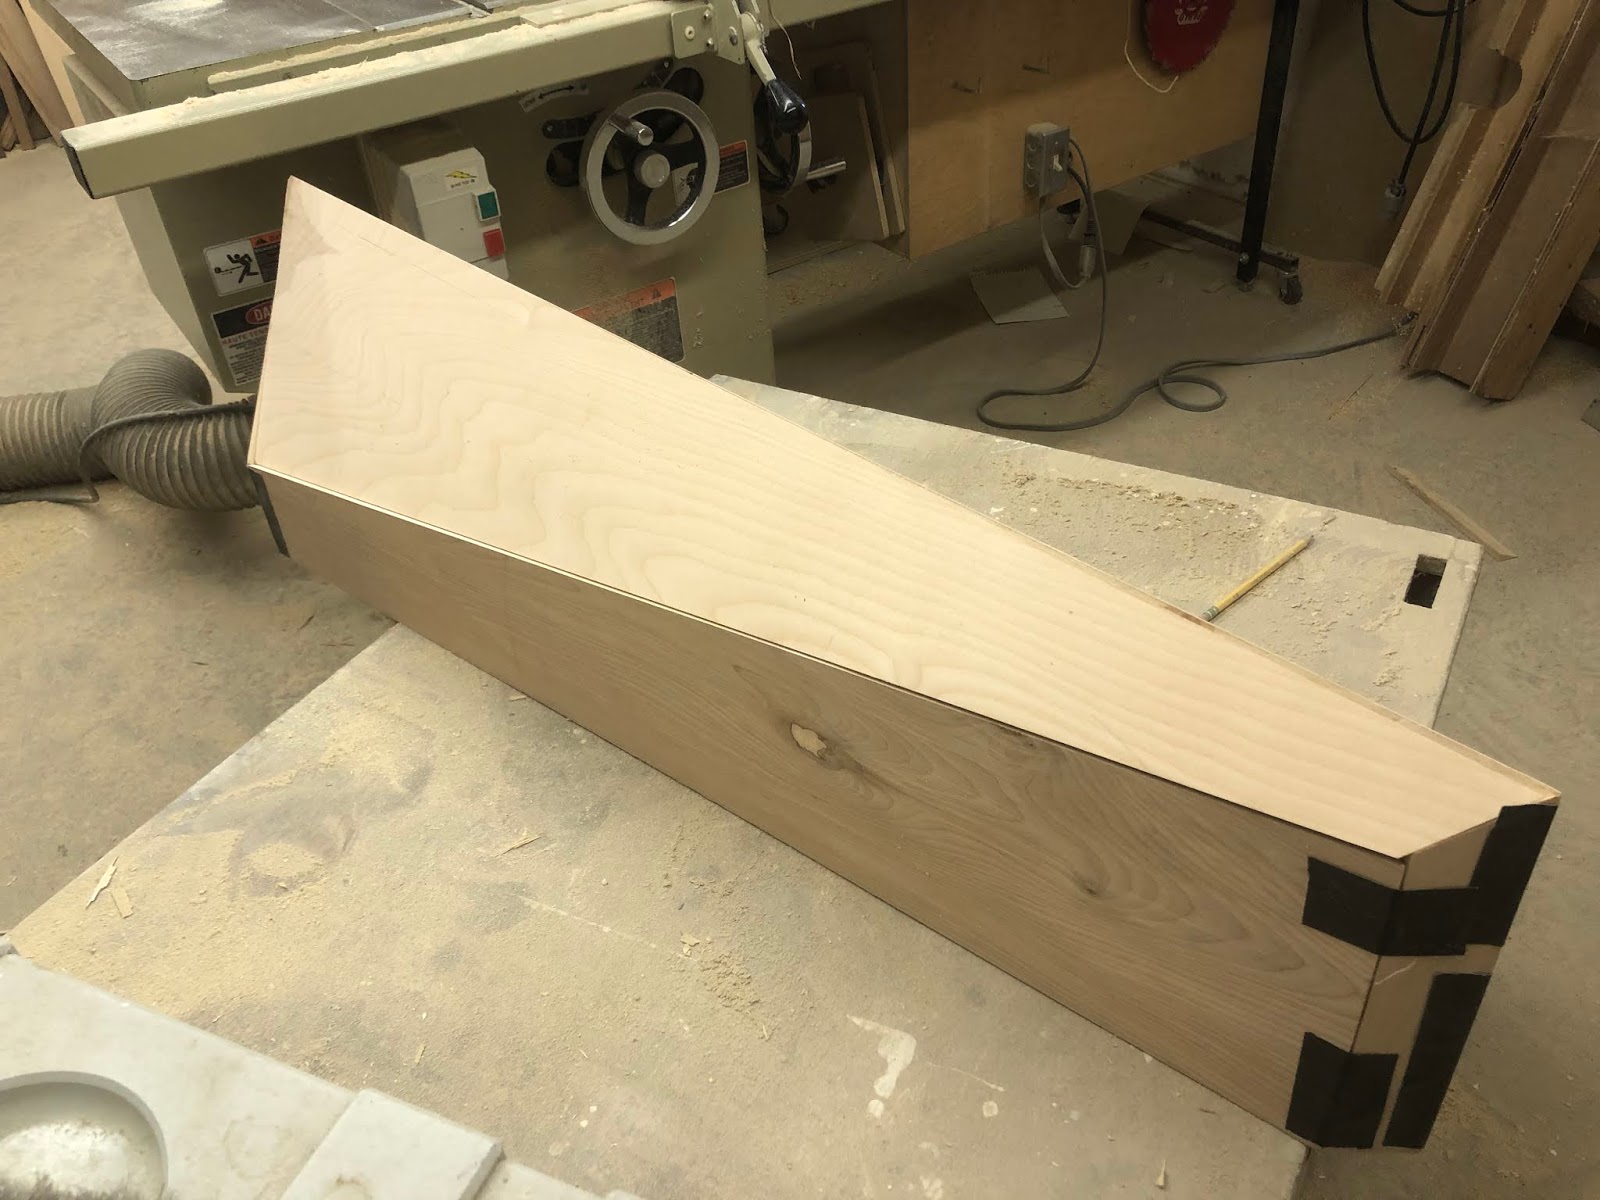
Here are some photos of how the pieces get cut. First you lay them out on a sheet of plywood. Next, cut the angles with a track saw, angled ends with a chop saw to get the basic shapes.


Next step is to bevel the edges so they'll all fit together. You set the blade at the desired angle and
run them by, keeping your fingers out of the way so they don't get cut, too.

The bevels in this piece vary from 18 to 72 degrees. Some you run vertically, some you run flat.
each time you have to adjust the fence so you take off just the right amount

In the end, they all come together, more or less. Because this is the first run adjustments will have to be made. Some of the angles are a little off. There are gaps that need to be filled. Because the piece will be solid white the problems are an easy fix. If it were to be a natural wood like oak, however, the fit would need to be more precise. As a first pass, this one works well enough
Looking toward the future, I was not happy with the gaps that I had between pieces and mismatched bevels, so I measured the angles with a digital angle finder, and re-cut everything. This time everything appeared to work together.

I proceeded to glue it up, starting with the top, bottom and sides.

And found that when they were perfectly aligned the front panel need some work.

In a perfect world all the trains would run on time, flat panels would be flat, saw cuts would not vary. One time I took a train to Milan to catch a flight and saw my ride fly over as me we approached the airport. The problems that cropped up in the final stage of gluing were more tractable, but still required some forceful persuasion. Meanwhile, the glue was setting....

In any case, we made it, Tzeno and me. Time to install the hanging strip. The piece on top interlocks with the one being glued to the table. You mount on the wall and it holds the table in place.

I used an epoxy mastic to patch nail and screw holes. Then sand, then a coat of glazing compound to fill the pores and subdue the wood grain.

Next comes the undercoat of white pigmented shellac.
Base coat (coats). I use BIN and level it out between coats. It dries wicked fast, sands easily, and has a high solids content. This top was very slightly ribbed (in a perfect world oh no) you can see it when the paint is wet and when you sand it down because the paint stays in the valleys. Flat now... ready for lacquer


Inclinazioni perfette!! Sei grande Phil!!!
ReplyDelete